Step-by-Step Guide: Installing Your Own Laminate Flooring
Introduction
Importance of Choosing the Right Flooring
Choosing the right flooring is like picking the right pair of shoes for an important event. It can either make or break the whole experience. That's why laminate flooring has become so popular—it offers a stylish look without breaking the bank.
Why Laminate Flooring?
Why go for laminate? Well, apart from making your neighbors jealous, it's durable, easier to clean, and can mimic other high-end materials like hardwood or stone. So you get the looks without the weight of a heavy price tag.
Step 1: Preparing the Workspace
Remove Old Flooring
The first step is like breaking up; it's hard, but it has to be done. Remove the old flooring to give way to the new, snazzy laminate planks. Make sure the subfloor is also free from nails, staples, and any other "leftovers" that could get in the way.
Clean and Level the Subfloor
Once the old flooring is out of the picture, sweep the subfloor to remove dust and debris. It's like prepping a canvas for a masterpiece. Ensure the subfloor is level, as an uneven surface can cause problems later.
Acclimatize the Laminate Planks
Laminate planks are like people; they need time to adjust to their new surroundings. Store them in the room where they will be installed for at least 48 hours to let them acclimatize.
Step 2: Gathering Tools and Materials
List of Required Tools
You wouldn't go into battle without your armor, right? Here are the essential tools you'll need for this DIY project:
- Measuring tape
- Pencil
- Carpenter's square
- Utility knife
- Pull bar
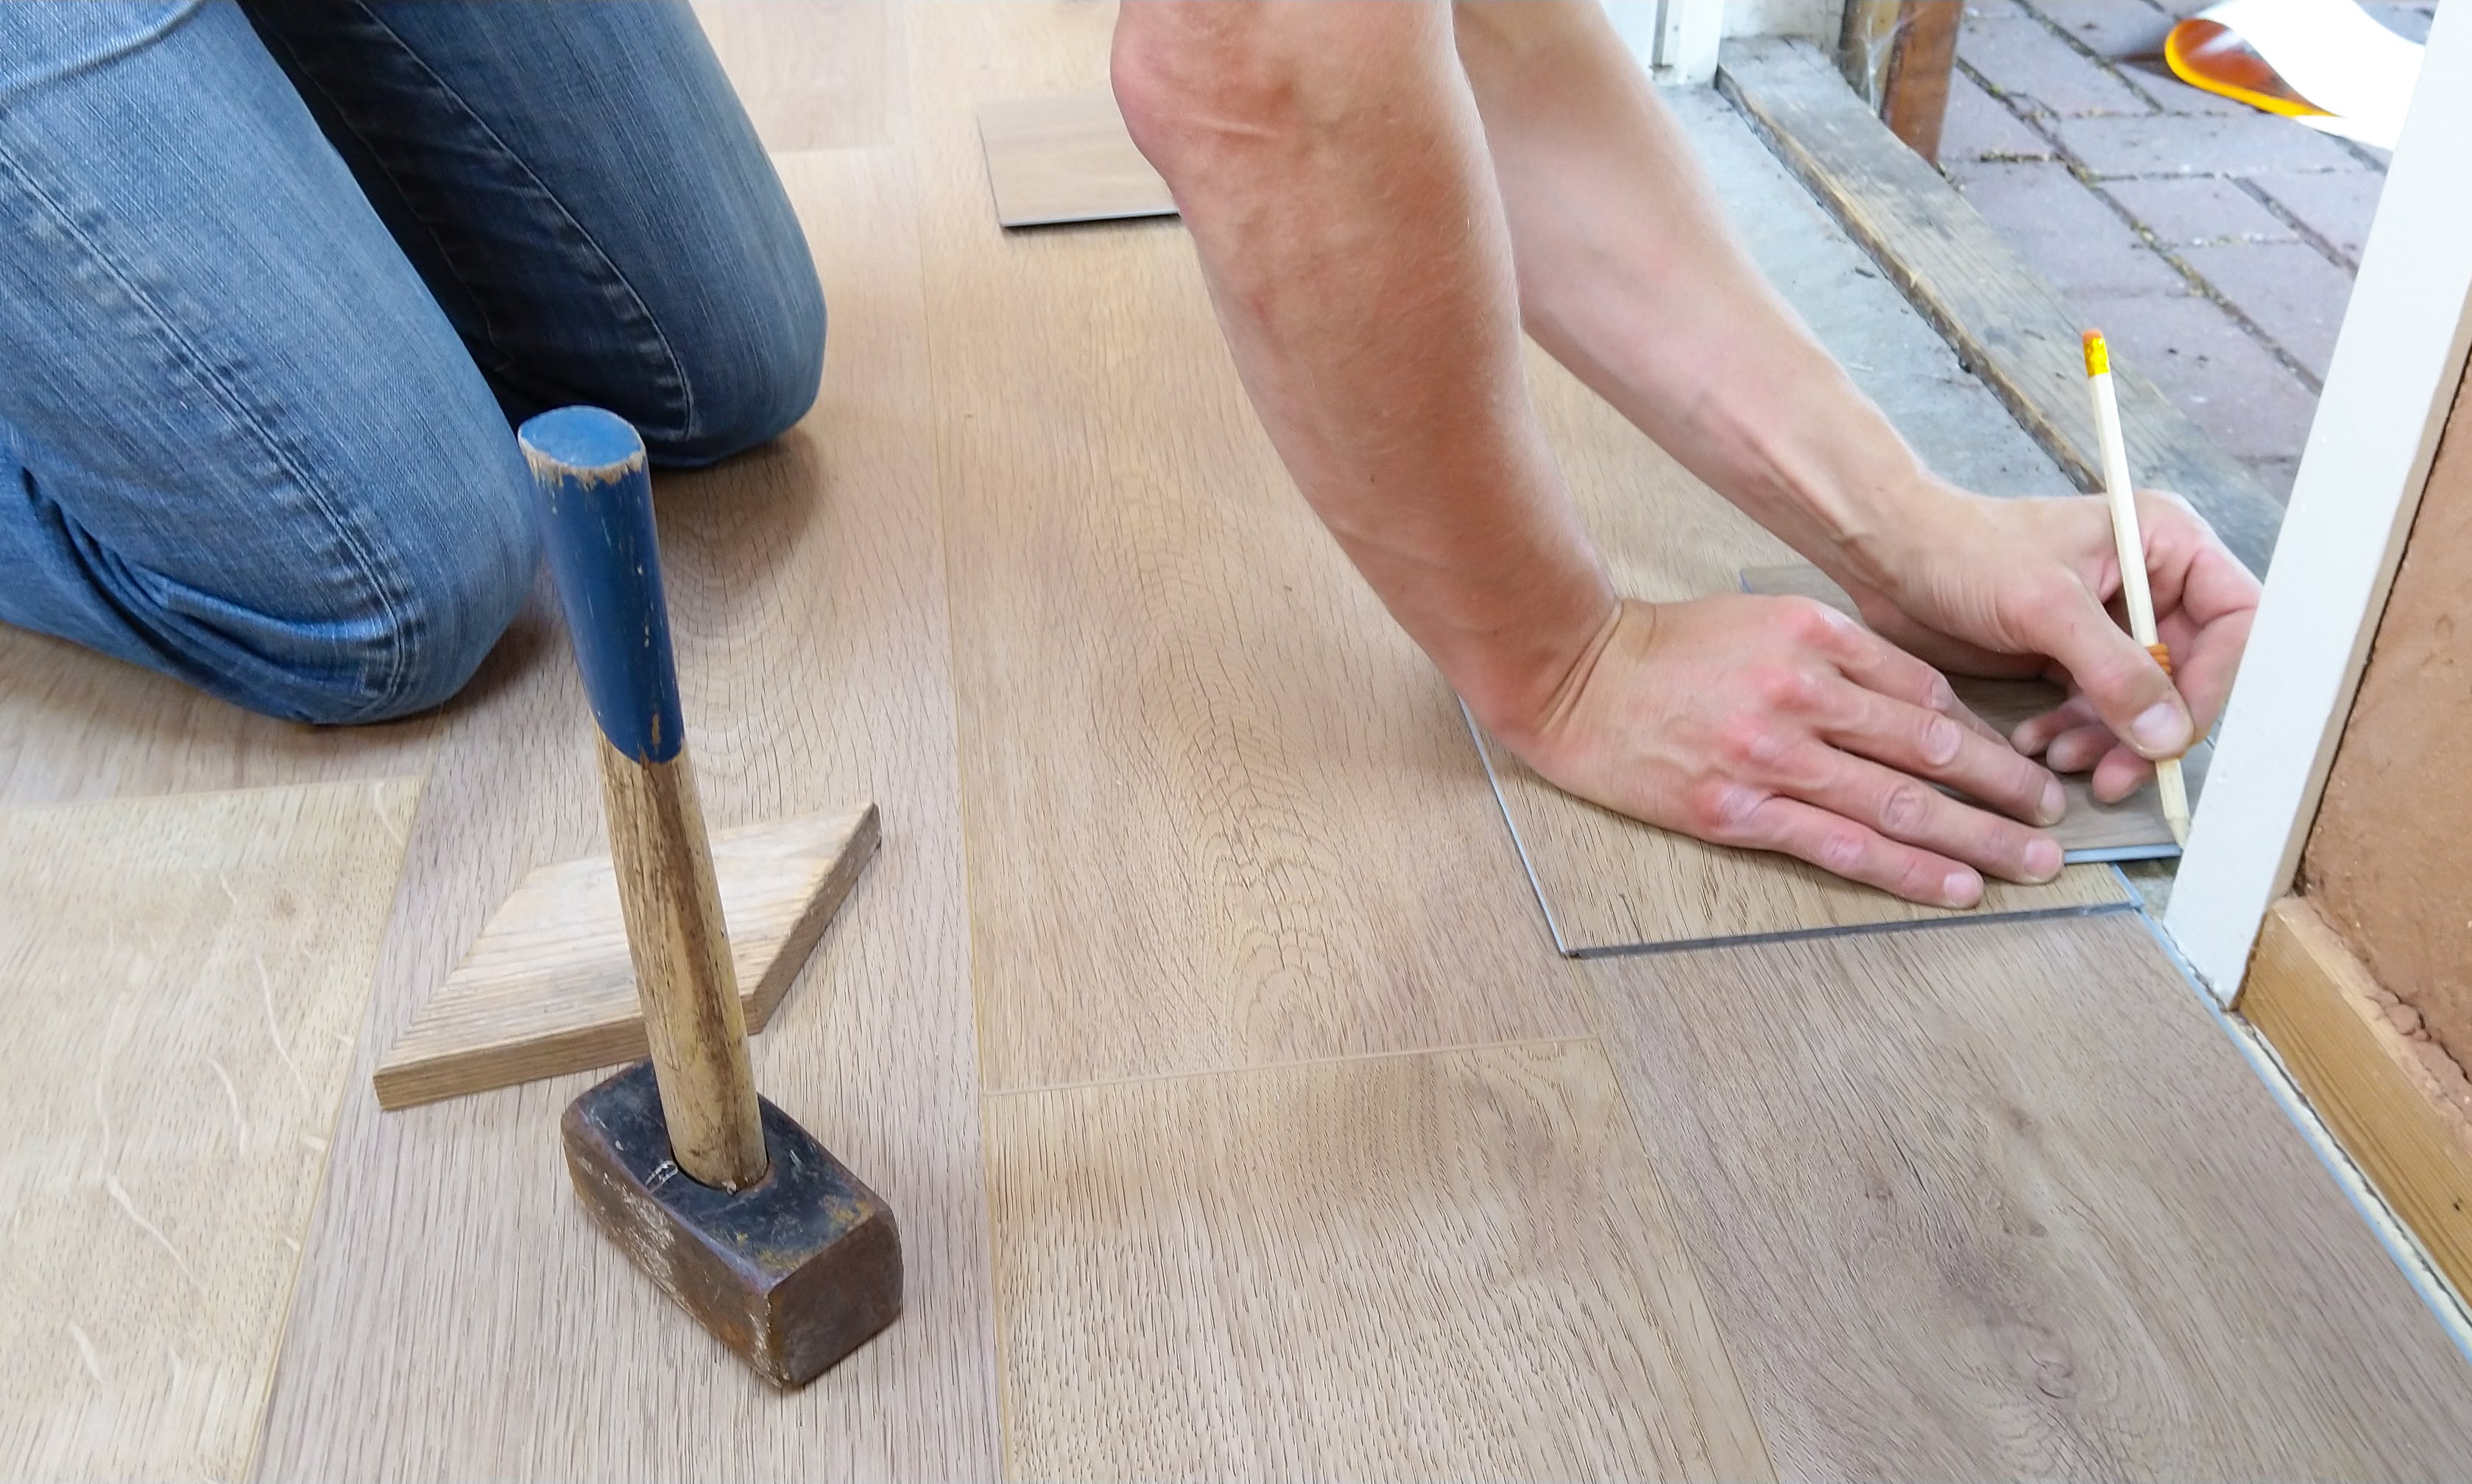
- Rubber mallet
- Safety glasses
Safety Gear
While the goal is to achieve a fantastic floor, let's keep all fingers and toes intact, shall we? Safety gear is not optional. Make sure to use:
- Safety glasses
- Knee pads
- Dust mask
Sourcing Quality Laminate Planks
When it comes to laminate flooring, quality is key. You want planks that will stand the test of time, resist moisture, and handle your dance moves.
Step 3: Measuring and Planning
How to Accurately Measure the Room
Before diving into the installation, measure the room to know how much material you'll need. Here's a pro tip: always buy about 10% more than you think you'll need. This accounts for errors, miscuts, and future repairs.
Calculating the Amount of Material Needed
A simple calculation will do. Multiply the room's length by its width to get the square footage. Then add 10% for those "just in case" moments.
Planning the Layout
Ah, the layout. Imagine you're setting up dominoes; you want the fall to be just right. Similarly, plan your laminate layout to avoid narrow plank widths at the walls.
Step 4: Cutting the Laminate
Safety First: Proper Cutting Techniques
Before you become a DIY lumberjack, remember that safety comes first. Always wear safety glasses and use sharp blades for clean cuts.
Measuring Twice, Cutting Once
This age-old adage still holds true. Measure the planks carefully and then re-measure just to be sure. Mistakes in this stage can be costly.
Handling Specialty Cuts
Sometimes you'll encounter obstacles like door frames or weird angles. For these specialty cuts, a jigsaw can be your best friend.
Step 5: Laying the Underlayment
Importance of Underlayment
The underlayment isn't just a fancy carpet; it's the unsung hero of flooring. This layer provides moisture control and ensures that your laminate planks lay flat.
Types of Underlayment
- Foam Underlayment: Provides basic moisture protection.
- Cork Underlayment: A more eco-friendly option with good sound insulation.
- Rubber Underlayment: Superior in moisture and sound resistance.
Installing the Underlayment
Roll out the underlayment parallel to the direction you'll be laying the laminate planks. Overlap the seams and tape them securely.
Step 6: Installing the Laminate Planks
Starting Right
Begin at the left corner of your room and lay the first row with the "tongue" facing the wall. Trust us; starting right sets the mood for the rest of the project.
Securing the Planks
Use a rubber mallet to snugly fit the planks together. You're not in a Strongman contest, so gentle taps are just fine.
Last Plank Woes?
The last plank in a row usually needs to be cut to fit. Measure the gap and subtract the expansion gap to get your cutting length. Then, swing that utility knife!
Step 7: Adding the Finishing Touches
Installing the Baseboards
Don't overlook this part. Baseboards give your room a complete, polished look.
Checking for Evenness and Gaps
Use a carpenter's level to check for evenness across the floor. If you spot any gaps, the pull bar will come in handy to close them up.
Celebrate Your DIY Success
Give yourself a high-five! You've just installed your laminate flooring. Go ahead, do a little dance on your new floor (gently, of course).
By following this comprehensive guide, you should now be a proud owner of a self-installed, pristine laminate floor. No longer do you need to wonder about the steps involved or the tools required; you've conquered them all.
Frequently Asked Questions
- What is the best underlayment for laminate flooring?
Foam is often adequate, but rubber offers superior moisture and sound resistance. - Do I really need safety gear?
Absolutely, unless you're a superhero with invincible eyes and knees. - How do I cut laminate planks?
A utility knife works well for straight cuts, while a jigsaw is essential for specialty cuts. - What if my floor has gaps after installation?
A pull bar can help close these gaps effectively. - Is it necessary to install baseboards?
Yes, they provide a polished look and cover the expansion gaps.


